There's Nothing Better Than Homemade Meat Pies
The first time I ever had meat pie was when I went to Nigeria waaaay back when Mr Biggs became my new Mc Donalds. It was hard saying goodbye to Ronald's place but I do have to say Mr Biggs was a nice replacement. I never really thought of finding a way to make them myself until a couple of friends of mine started making them on the regular about a year ago. When I had that first bite it transported me back to the days I would kick back and relax in the hot sun with my siblings as we munched on our meat pies held in one hand and slurped on our coooold bottle of proper Fanta in the other.
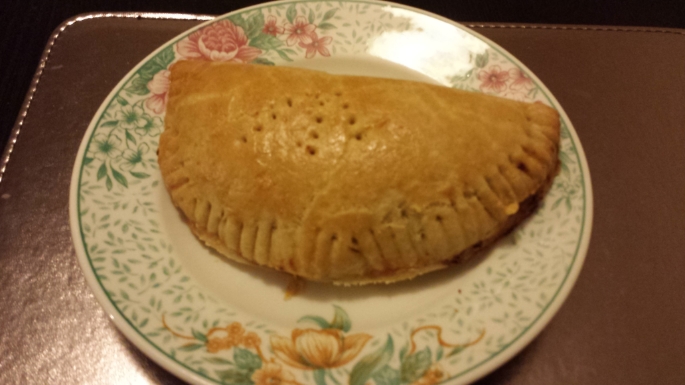
I promised myself that once I got my own place that I will learn how to make all the things I love and then some as I actually really love cooking. But the thing is I kinda don't like cooking for people other than my family as I can handle their criticism pieces of advice quite well haha. That is all about to change! I hope. Pictured above is one of the pies I made all by my lonesome...well, with the help of a recipe I found online.
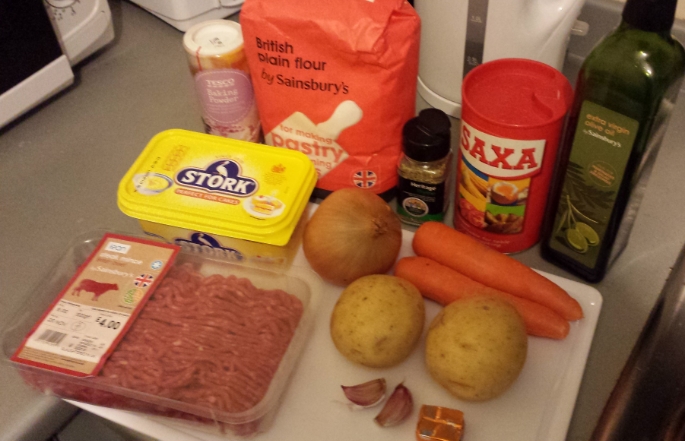
These are the basic ingredients you will need to make about 20 medium sized meat pies. Of course you must note that the number of pies you get depends entirely on how big or small you want them to be.You would also need an egg for that glazed look as well as to seal the pies. The tools you will need are as follows- cleared kitchen counter and/or table; chopping board; knife; a saucepan; a cooker (duh!); an oven (double duh!); a mixing bowl; a kitchen scale; a rolling pin; a pie cutter; a baking tray; baking parchment (I am classing this as a tool); a pastry brush and a fork.
Without further ado here is what you need to do (hehe that rhymed!):
The Filling
It is entirely up to you when it comes to the filling but below are the steps you can follow to make the one I did:

- Get your potatoes, carrots, onion and garlic cloves, peel away the crap covering the good stuff, wash it and then chop 'em all up. To make things a bit more interesting i.e. spicy I decided to chop up some washed mixed peppers I had in my fridge
- I don't know about you but I tend to rinse my minced meat (lean beef to be specific) so feel free to do that next.
- Set a hob on your cooker to medium heat and place your saucepan on it. Add a bit of extra virgin olive oil and allow to heat up a bit. Then throw in your onions and garlic and enjoy their mixed scents as you stir them in the pan.
- After about 30 sec or so add the minced meat to the pan because you don't want the garlic to start burning as that will ruin the taste of your filling. Stir the contents of your pan well until the minced meat loses its reddish colour and starts turning a pale shade of brown.
- This is my favourite part- get all your favourite seasonings and begin to spice up your filling to your desired taste. I added a bit of salt, ground chilli pepper, thyme, ginger, cinnamon, mixed herbs and 1 big Knorr cube and mixed them all in. Yeah... go wild lol!
- Cover the saucepan and wait for it to start boiling. When it does, throw in your potatoes, carrots and mixed peppers and cook until everything is done.
- Here comes the fun part- dissolve 2 tablespoons of flour in half a cup of cold water and add this mixture to your saucepan, stir and watch the contents go all gloopy. This is to ensure the filling retains its moisture during the baking process.
- Check the taste is to your liking and then turn off the heat.
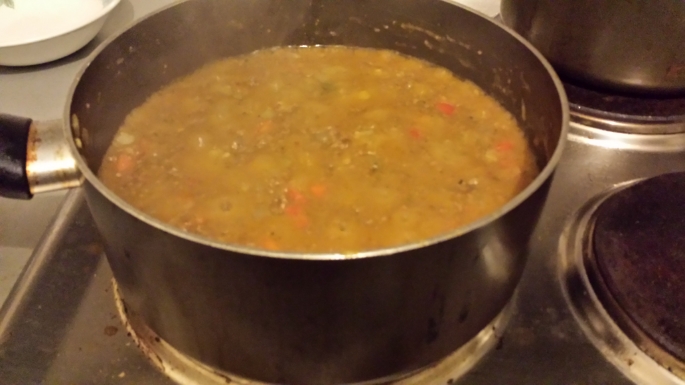 |
| A gloopy mess that tasted amazing! |
The Dough
The recipe says to use 1 kg of flour but as I was home alone the night and did not trust that my 1st batch will be good enough to touch, let alone eat, I decided to halve all the ingredients.
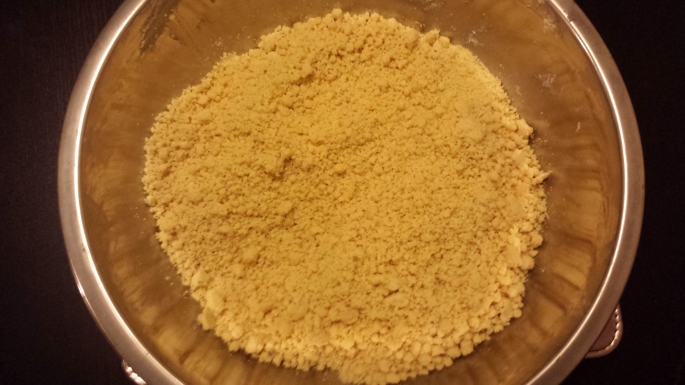 |
| A bowl of "breadcrumbs" |
- Add 500 g of flour, 1 teaspoon of baking powder and a pinch of salt to a mixing bowl and mix well
- This is the messy part- scoop 250 g of margerine in little bits into your bowl of powdery goodness and mix the contents together with your hands until the entire mix looks like breadcrumbs
- Then add a bit of cold water into your bowl of "breadcrumbs" and start kneading the contents until you achieve a ball of dough. Trust me when I say this, you do not need a lot of water.
- Allow this ball of doughy fun to sit in the bowl for 5 minutes as apparently this makes it more elastic *shrugs*
The Pie!!
I used a small bowl as my cutter so feel free to be as creative as you want. I went for the standard circle :)

- Preheat your oven to about 170oC and go back to your dough ball
- Crack an egg into a bowl, whisk and set it aside (get your pastry brush ready!!)
- On your clean counter or chopping board sprinkle some flour over it, set your dough ball on the surface, get a hold of your rolling pin and start rolling your dough until it is about 5 mm thick. It is quite therapeutic ;)
- Using the cutter of your choice (mine, a bowl) and start cutting out circles of your 5 mm thick dough
- In the centre of your circles of dough place some of your filling such that when it comes to close it, there will be no overflows. But if it does don't fret as you will soon get the hang of it.
- Get your pastry brush, dip it into the egg and start "painting" the edges of the dough-circle with the egg.
- Fold over one side of the circle to make a 3-D semi-circle, grab your fork and press the two sides together so that it looks like the picture above. Punch some holes in the pie and then slather some egg over the pie's exterior to get that glazed golden brown look#
- Do this for all the dough-circles you can make, place them on your baking tray(s) and pop them in the oven for about 30- 50 min. You will know it is done when the pies start turning that lovely shade of golden brown :)

Fin.
And that is how you make my version of Nigerian Meat Pie. It is safe to say I had them for dinner that night and then breakfast lunch and dinner the next day (the day I went to see Catching Fire). The scales did reflect the damage that those decisions caused but I was content and that is all that matters. I will admit that my second batch did not turn out as well as the first (they burst open in the oven haha!) but they still tasted good! I shall continue to practice making these until I am pro as well as trying my hand at making other delicacies. If you have any suggestions I am all ears! I would really like to know:
What fun adventures have you been having in your kitchen?
Till next time!
Luv, Mo xx